

Choosing a Usb Streaming Microphone is no longer a minor setup decision. It affects voice clarity, audience trust, and daily production speed.
Edison Research’s Infinite Dial 2024 reported that 47% of Americans aged 12 and older had listened to a podcast within the previous month. Weekly podcast consumption also reached 34%, showing how many listeners now expect consistent, intelligible audio. Meanwhile, IAB and PwC reported that U.S. podcast advertising revenue approached $1.9 billion in 2023. These figures do not guarantee success with expensive equipment. They do show why dependable recording quality deserves careful attention.
A suitable microphone should match your room, voice, content, and computer. A condenser model can capture soft vocal details, but it may also reveal keyboard clicks, fan noise, and untreated reflections. A dynamic model often handles noisy rooms better. Polar patterns, headphone monitoring, gain control, USB compatibility, and latency matter during real sessions. So does the stand. A poorly positioned microphone can make a premium capsule sound disappointing.
Small details matter.
This guide presents ten practical tips for comparing a USB Streaming Microphone before purchase. It considers specifications, construction, software support, warranty terms, and actual desk use. Some recommendations may challenge common buying habits. Higher resolution is not always better. More controls can also create confusion. I have made that mistake myself. The most reliable choice is rarely the microphone with the longest feature list; it is the one that produces clean, comfortable, repeatable speech in your actual recording space.
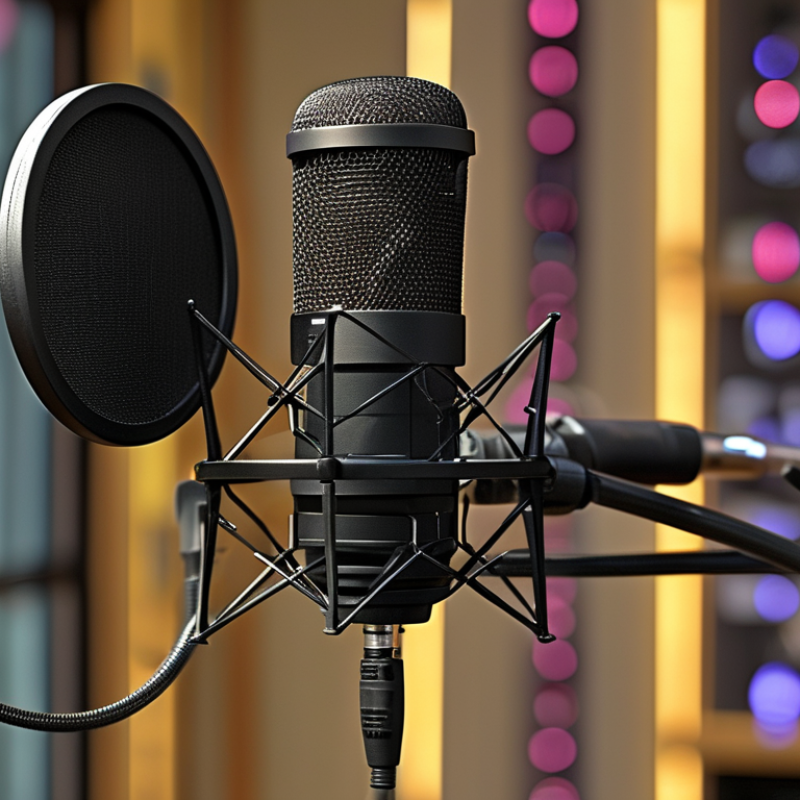
Choosing a USB streaming microphone starts with a clear picture of your streaming goals. A solo gaming channel needs different performance than a quiet interview show. Decide whether you mainly speak, sing, teach, or host guests. Your content style determines the pickup pattern, sensitivity, and monitoring features you need.
I test microphones with my normal speaking voice, not only polished recordings. A cardioid pattern can reduce sound from behind the microphone, which helps in a busy room. Built-in headphone monitoring also lets you hear background hum immediately. Check whether the microphone offers gain control, mute access, and stable USB connection. Small controls matter during a live session.
Room conditions deserve equal attention. Hard walls, keyboard clicks, and nearby fans can make a capable microphone sound harsh. Place it about 15 to 20 centimeters from your mouth, then adjust the gain before changing software settings. I once blamed a microphone for muddy audio, but my desk position caused the problem. That mistake changed my testing routine. I now record a short sample beside the computer, near the window, and at night. Compare those recordings before buying. Technical specifications help, but they cannot predict every room. Your budget should include a stand, pop filter, or acoustic treatment if needed. A cheaper microphone in a controlled position may outperform an expensive one placed too far away. Listen carefully. Your actual streaming routine should guide the final choice.
Choosing a USB streaming microphone starts with its pickup pattern, not its grille or software. That pattern decides which sounds reach the capsule and which noises stay weaker. Cardioid focuses on the speaker in front, making keyboard clicks and room reflections less prominent. Supercardioid narrows the front zone, but it may capture more sound from the rear. Omnidirectional microphones hear evenly around the capsule. They suit quiet rooms, round-table conversations, and natural ambience. Bidirectional capture works for two facing speakers, though untreated rooms can sound boxy. The Infinite Dial 2024 report says 34% of Americans aged 12 and older listen weekly. That audience makes clear speech a practical production priority. IEC 60268-4 supports checking directional response across frequencies, not only one polar diagram.
Test the microphone at your real desk. Speak 10 centimeters away, then 30. Listen for bass buildup, plosives, fan noise, and chair movement. Use headphones while monitoring. Turn the capsule toward your mouth, not your chest. Aim the rear rejection zone at the loudest noise. A shock mount can reduce desk vibration, but it cannot repair a reflective wall. Earlier, I trusted a cardioid label too much; my bare wall still made every pause sound thin. That mistake matters because pickup patterns change with frequency and distance. Compare spoken samples at identical gain. Do not judge only by louder output. Leave headroom for sudden laughter. Then test off-axis speech. Small movements can alter tone.
10 Tips for Choosing a USB Streaming Microphone
Evaluate Audio Quality, Compatibility, and Connection Features
1. Test spoken vocals before buying. A clear microphone should preserve consonants without sounding sharp or thin. Listen closely.
2. Check the frequency response, but do not trust numbers alone. Room noise can affect real recordings more than specifications.
3. Choose a suitable pickup pattern. Cardioid capture usually reduces keyboard sounds behind the microphone.
4. Examine the maximum sample rate and bit depth. A 24-bit, 48 kHz setting suits most streaming and voice work.
5. Try the headphone output. Direct monitoring should sound immediate, without a distracting delay.
6. Confirm operating-system compatibility. Some microphones work instantly, while others require software or manual settings.
7. Inspect the connection type. USB-C is convenient, but included cables may not fit every computer or tablet.
8. Consider mobile and console use. You may need an adapter, powered hub, or separate audio permission.
9. Test the gain control carefully. I once chose a sensitive model that captured every chair movement.
10. Look for stable connection features. A loose port can interrupt a live session at the worst moment.
Record a short sample from different distances. Speak softly, then raise your voice. The microphone should remain detailed without harsh clipping. Keep testing.
Build quality matters too. A firm stand, mute control, and visible status light improve daily handling. Yet convenience can mislead; extra controls do not guarantee better sound. Check independent measurements and user reports, while remembering that room acoustics vary. A quiet corner, soft furnishings, and careful microphone placement may improve results more than an expensive specification sheet.
Relative importance of audio quality, compatibility, and connection features when evaluating a USB streaming microphone.
Audio quality receives the highest weighting because clear speech, low noise, and consistent vocal detail directly affect livestreams, podcasts, and video calls. Compatibility and connection features support reliable setup across computers, operating systems, monitoring equipment, and streaming workflows.
A reliable microphone should feel solid before it ever reaches your desk. Check the body, grille, joints, and cable connection for looseness. Metal construction can improve durability, but it may also add weight. Lift it carefully. A stable base matters during long streams. Look for accessible mute and volume controls. They should turn smoothly and respond without distracting clicks. Separate headphone volume from microphone gain when possible. This prevents accidental changes during live sessions. A clear indicator light helps, especially in a dim room. Test whether the light remains visible from your normal seating position.
Mounting options affect both sound and comfort. A desk stand is simple, but it can transmit keyboard taps through the table. A shock mount may reduce those vibrations. Check thread compatibility before buying accessories. An adjustable arm should hold position without slowly dropping. Leave enough space for your monitor and camera.
Monitoring is equally important. A headphone output with low-latency playback helps you hear noise immediately. Adjust the monitoring mix between your voice and computer audio. Try this with a game, music, or a video call.
I once ignored this feature and discovered a constant fan hum too late. That mistake changed my testing routine. Speak from your usual distance, not with your mouth pressed close. Record a short sample at different gain levels. Listen for harshness, room echo, and sudden volume jumps. No setup is perfect. Small tests reveal expensive regrets.
10 Tips for Choosing a USB Streaming Microphone
Balance Price, Accessories, Reviews, and Long-Term Value
A USB streaming microphone should fit your room, voice, and routine. Edison Research’s Infinite Dial 2024 found that 47% of Americans aged 12 and older listened to podcasts monthly. Clear speech now matters across streams, calls, lessons, and recordings. Hear the room. Clap once. If the sound lingers, choose a microphone with useful gain control and reject distracting background noise. Check polar patterns, headphone monitoring, mute access, and recording resolution. Higher numbers do not guarantee better speech.
Price is only one part of value. Compare the microphone, stand, cable, shock mount, pop filter, and warranty together. A cheap model may need costly accessories later. Reviews should include untreated-room tests, not only studio samples. Look for repeated comments about driver stability, connector strength, and software dependence. Ofcom’s Online Nation 2024 reported that UK adults spent about four hours and twenty minutes online daily. That supports investing in a stable stand, comfortable monitoring, and controls you can reach without breaking focus.
Consider repairability and replacement parts. Buy for tomorrow. A removable cable can outlast a fixed one, while metal construction may survive frequent adjustments. However, heavier equipment is not automatically stronger or more practical. I still overvalue impressive specifications sometimes. Voice clarity, desk space, and setup speed usually reveal more. Test your own voice at normal volume, then listen through ordinary headphones. Keep a return window available, because a microphone can sound excellent in reviews and strangely thin in your room.
| No. | Selection Tip | What to Check | Practical Target | Why It Matters | Long-Term Value |
|---|---|---|---|---|---|
| 1 | Set a realistic budget | Compare the microphone, mounting hardware, cables, and any required accessories as one purchase. | About $50–$150 for most home streamers | A higher price does not automatically produce better recordings. Room acoustics, placement, and speaking technique strongly affect sound quality. | High |
| 2 | Confirm plug-and-play compatibility | Check operating-system support, USB connector type, driver requirements, and compatibility with the intended streaming software. | USB audio class support; no special driver required | A standard USB connection can simplify setup, but adapters or hubs may introduce compatibility and power issues. | High |
| 3 | Choose the right pickup pattern | For solo streaming, prioritize a cardioid pattern that focuses on sound from the front and reduces some rear noise. | Cardioid for one speaker; multi-pattern for shared use | Pickup pattern affects keyboard noise, room reflections, and how well the microphone suits interviews or multiple speakers. | High |
| 4 | Check monitoring and control features | Look for a headphone output, low-latency monitoring, mute control, and convenient gain or volume adjustment. | 3.5 mm headphone monitoring recommended | Direct monitoring helps detect clipping, background noise, and accidental mute states before they affect a live broadcast. | High |
| 5 | Evaluate included accessories | Identify whether the package includes a stand, shock mount, pop filter, USB cable, and thread adapter. | At least a stable stand and suitable cable | Included accessories can reduce the real cost, although a basic desktop stand may be less effective than a properly adjusted boom arm. | Medium–High |
| 6 | Consider recording specifications | Review bit depth, sample-rate options, frequency response, maximum sound-pressure level, and noise performance. | 16-bit/44.1 kHz is adequate; 24-bit/48 kHz adds headroom | Specifications provide useful clues, but they do not replace listening tests or careful microphone placement. | Medium |
| 7 | Read reviews critically | Compare reviews that discuss sound, plosive control, background noise, software stability, construction, and defects. | Use multiple independent sources | A single rating can hide recurring problems or reflect expectations that do not match a streaming setup. | High |
| 8 | Inspect build quality and adjustability | Check housing strength, button feel, connector strain relief, hinge stability, and ease of positioning. | Metal or reinforced construction; firm adjustment points | A microphone that stays in position and survives regular cable movement is less likely to require early replacement. | High |
| 9 | Check warranty and support | Review the warranty period, return window, replacement policy, firmware support, and availability of spare cables or mounts. | At least a one-year warranty preferred | Clear support terms reduce the financial risk of electronic failure and make repairs or replacements easier. | High |
| 10 | Calculate total cost of ownership | Add the purchase price, accessories, replacement cables, software needs, shipping, and likely upgrade costs. | Compare usable cost over 3–5 years | A slightly more expensive microphone may be better value if it includes essential controls, durable hardware, and reliable support. | Very High |